A rotation is a move that improves your position for what comes next. In Free Fire, reaching the safe zone is only part of that job. You also need somewhere useful to stop, enough time to react, and an alternative if another player already controls your destination.
Garena's OB55 notes adjust Solara's safe-zone timing. Read the current match timer instead of memorizing an old schedule.
Choose the destination before the line
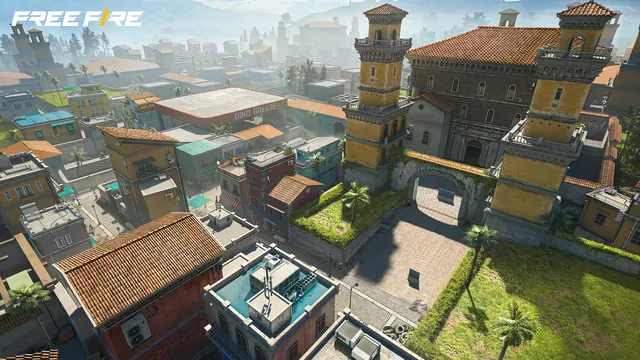
Do not draw a route only to the nearest point inside the circle. Look for a position with usable cover and a next move. A small building may be helpful, but consider its entrances, nearby higher ground and whether leaving it would require another exposed crossing.
Pick a primary destination and a fallback. The fallback does not have to be equally comfortable. It only needs to prevent an occupied building from turning your arrival into an improvised sprint.
If your rotations often start late, review your landing and first-circle plan. The problem may begin with one extra loot search long before the crossing itself.
Compare the worst part of each route
The shortest route can contain the longest exposure. Compare possible paths by identifying their most difficult section: an open road, a narrow bridge, a steep approach, or a building entrance visible from several angles.
Ask what information you can gather before that section. Can you observe it from cover? Is there another protected stopping point? Could an opponent force you to return the way you came?
This comparison is more useful than labeling one side of every circle as automatically safe. An edge route and a central route can both become dangerous when their approaches are watched.
Spend time to keep options open
Leave while you still have enough time to pause or change course. The margin you need depends on the route, your supplies and what is happening nearby. Avoid turning a personal departure habit into a fixed countdown rule for every match.
During the move, stop treating the original plan as a commitment you must defend. New gunfire, visible movement or an occupied destination can justify a change. A good route is a current decision, not a promise made two minutes earlier.
The minimap and sound guide explains how to use uncertain clues without pretending they reveal the entire area.
Cross with one clear next action
Before leaving cover, identify the next object you intend to reach. Keep your attention on that movement instead of opening a menu or reconsidering your entire inventory halfway through it.
If you use a gloo wall, decide which angle it should block and where you will move afterward. The gloo wall placement drills focus on connecting temporary protection to fixed cover.
Review the moment your options disappeared
After a failed rotation, find the earliest avoidable decision. You may have stayed to loot, fired at an unrelated opponent, or selected a destination with no fallback. “The zone caught me” describes the result; it does not identify the choice you can change.
For the next match, practice one correction. Leave after a smaller loot checklist, inspect one additional angle, or choose the fallback earlier. A rotation becomes easier to understand when you review its decisions separately instead of treating the entire run as one mistake.